Making:
The dry ingredients were sifted together in a large bowl. A well was created in the dry ingredients and the whole eggs and egg yolks are placed in the middle. These were beaten while adding flour continually from the sides.


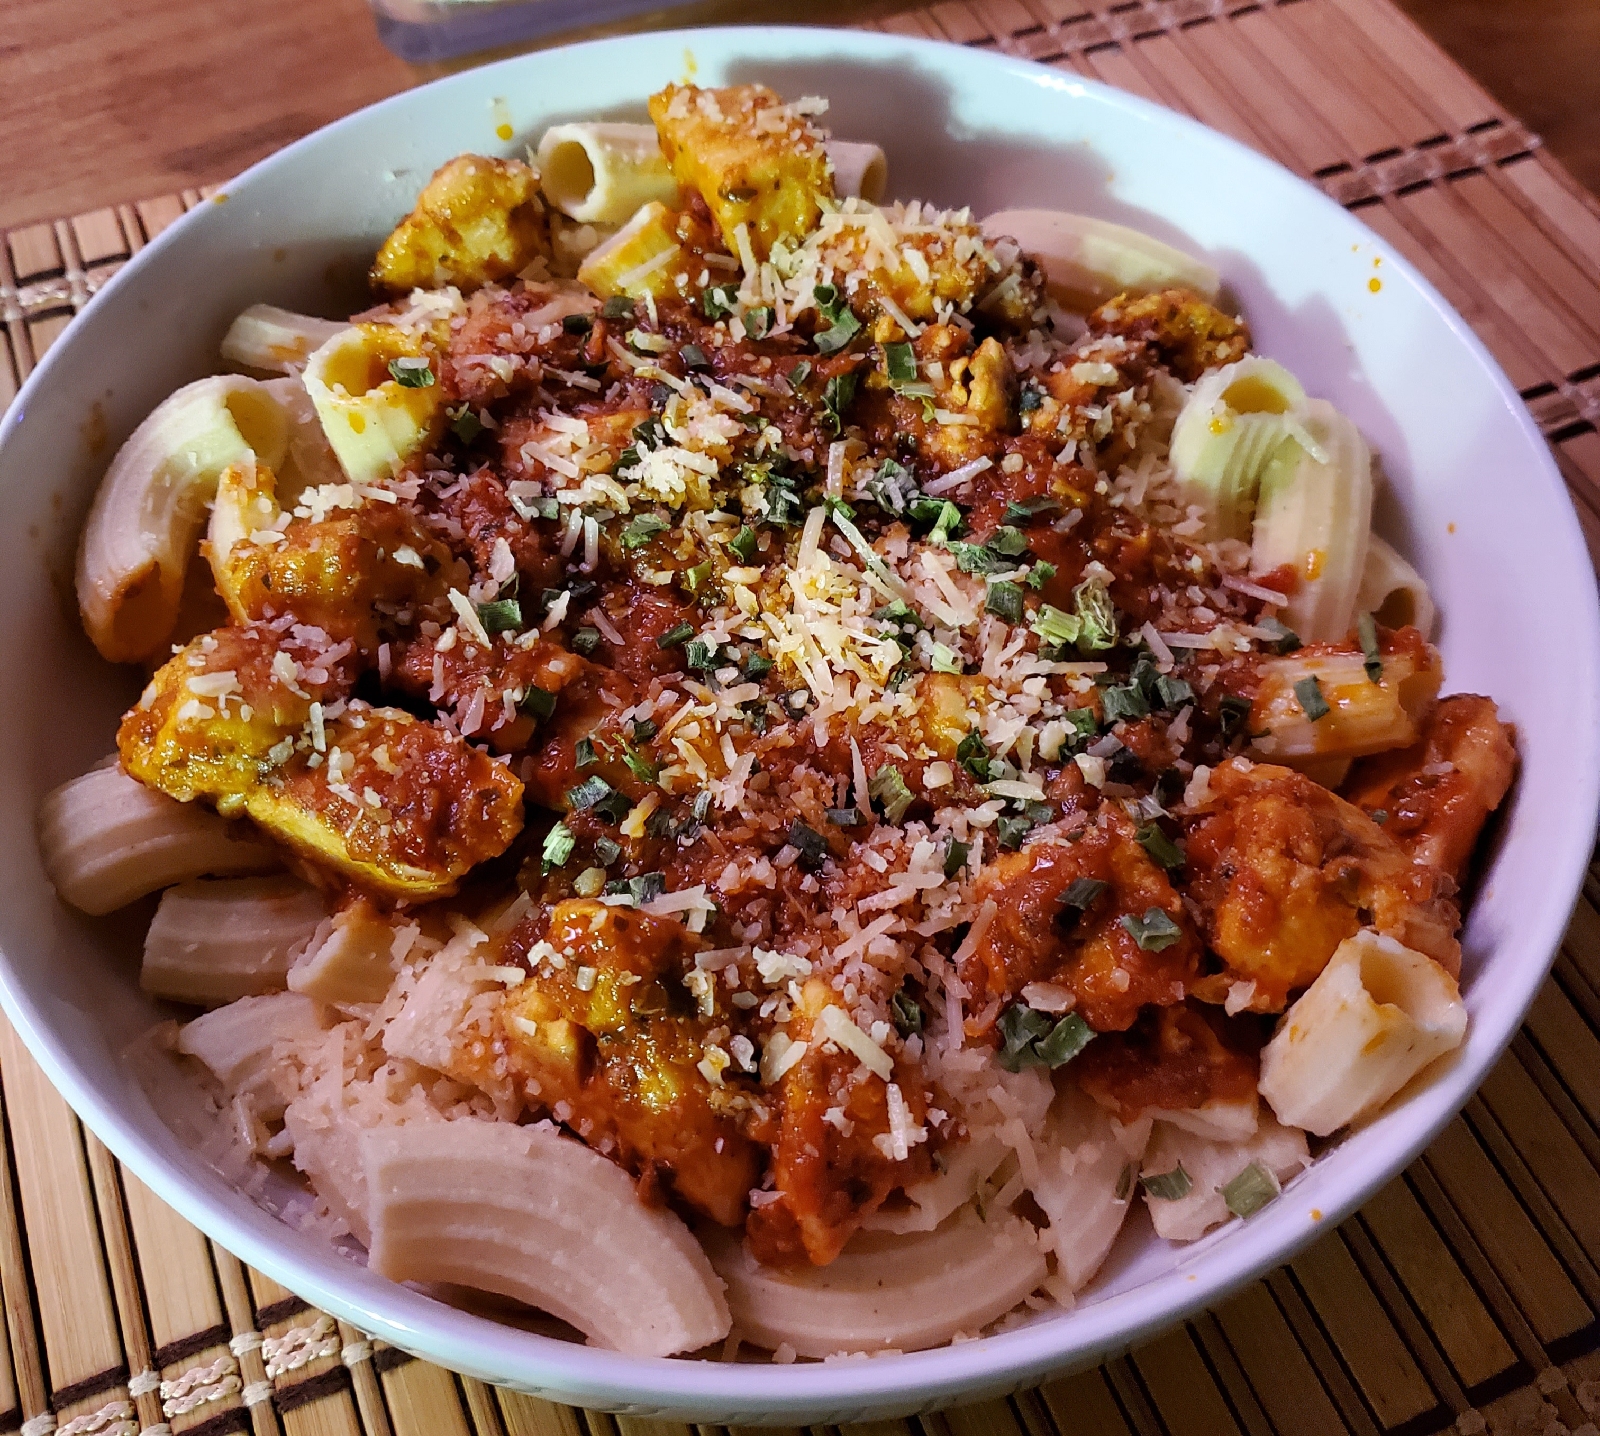
Because the pasta is fresh it (Macaroni) was cooked in boiling salted water for only 3 minutes. The other batch will be cooked in a couple days time after drying so I will have to cook those for just a little bit longer.
Things I learned:
The dough balls should be a bit smaller than I originally made. And the manual suggests doing one ball at a time and working until you can see the auger. I didn't follow that closely enough which I think caused the first round of pasta to come out so misshapen.
Pasta noodles, trying out my new pasta extruder attachment.
4 servings total
2 sv fusili noodles
2 sv large macaroni
Here's what I have:
2 whole eggs
Here's what I have:
2 whole eggs
3 egg yolks
*3/4 cup egg white (addition)
160 grams corn flour
100 grams brown rice flour
1 pinch of salt
1 tbsp xanthan gum
Preparation:
Today we tried out the pasta extruder attachment for my KitchenAid mixer.
Preparation:
Today we tried out the pasta extruder attachment for my KitchenAid mixer.
The dry ingredients were sifted together in a large bowl. A well was created in the dry ingredients and the whole eggs and egg yolks are placed in the middle. These were beaten while adding flour continually from the sides.
Because the mix was turning out to be too dry and crumbly I ended up adding some additional egg white in quarter cup increments to the mix until a dough ball began to form.
Once I had a good consistency from the dough ball it was separated into sections about the size of two walnuts put together. This was set aside with a bit of damp paper towel over it to keep the dough moist while I put the pasta extruder together and attached it to the mixer.
The first pasta we attempted to make was fusili. Because the dough I made was still a bit too firm it took quite a while to get enough for two servings. They came out a misshapen for the most part. So we decided to switch to a different extruder plate to see if it would handle the dough I created better.
After resetting everything and attaching the large macaroni plate to the extruder we continued on. This worked a lot better for the firmness of the dough. Every once in awhile I would have to take a piece of paper towel and wipe down the pasta cutter edge. This prevented too much build up on the blade which would cause some jagged edges on the pasta.
Things I learned:
The dough balls should be a bit smaller than I originally made. And the manual suggests doing one ball at a time and working until you can see the auger. I didn't follow that closely enough which I think caused the first round of pasta to come out so misshapen.
The dough pusher tool is very handy and made the process of pushing the dough through a lot easier. It was also really helpful in the switch out because of the hook end that helps you bring the auger out of the extruder housing.
Clean up is a little bit tedious for this one because the openings on the plates are very small. The set comes with a metal cleaning tool to push out the dough. To clean the extruder plates I used this tool to poke as much of the dough out as possible and set them aside for a bit to dry out a little. And then I used canned air to push the rest of the dry dough out of the extruder plates and wiped them down with a dry cloth.
The extruder plates and housing of the attachment are not supposed to be submerged in water so the housing attachment was wiped down with a dry followed by a moist cloth and allowed to dry. The auger. Pusher tool and cap were able to be washed in soapy water as normal.
Overall I really enjoy this attachment. It makes pasta a lot easier and gives me more options for shapes. The only thing I will have to do from here is tweak my dough recipe so that it doesn't over tax the machine.
One possible negative for this attachment is the fact that the extruder end sits so low to the countertop surface. I think this might become an issue when I eventually try to make spaghetti. For shorter pasta shapes it's helpful though as it keeps you from creating too much length.
- Kris
- Kris
Comments
Post a Comment