Making:
Acai berry icecream
Here's what I have:
Preparation:
The ice cream bowl attachment I'm using was placed in the freezer 2 days prior to making this batch. The liquids for the ice cream were prepared the day before so they could cool in the refrigerator overnight.
You will need a pan big enough to hold the liquids and sugar. To churn the ice cream I will be using the KitchenAid Ice Cream bowl accessory.
The plate!
- Kris
Acai berry icecream
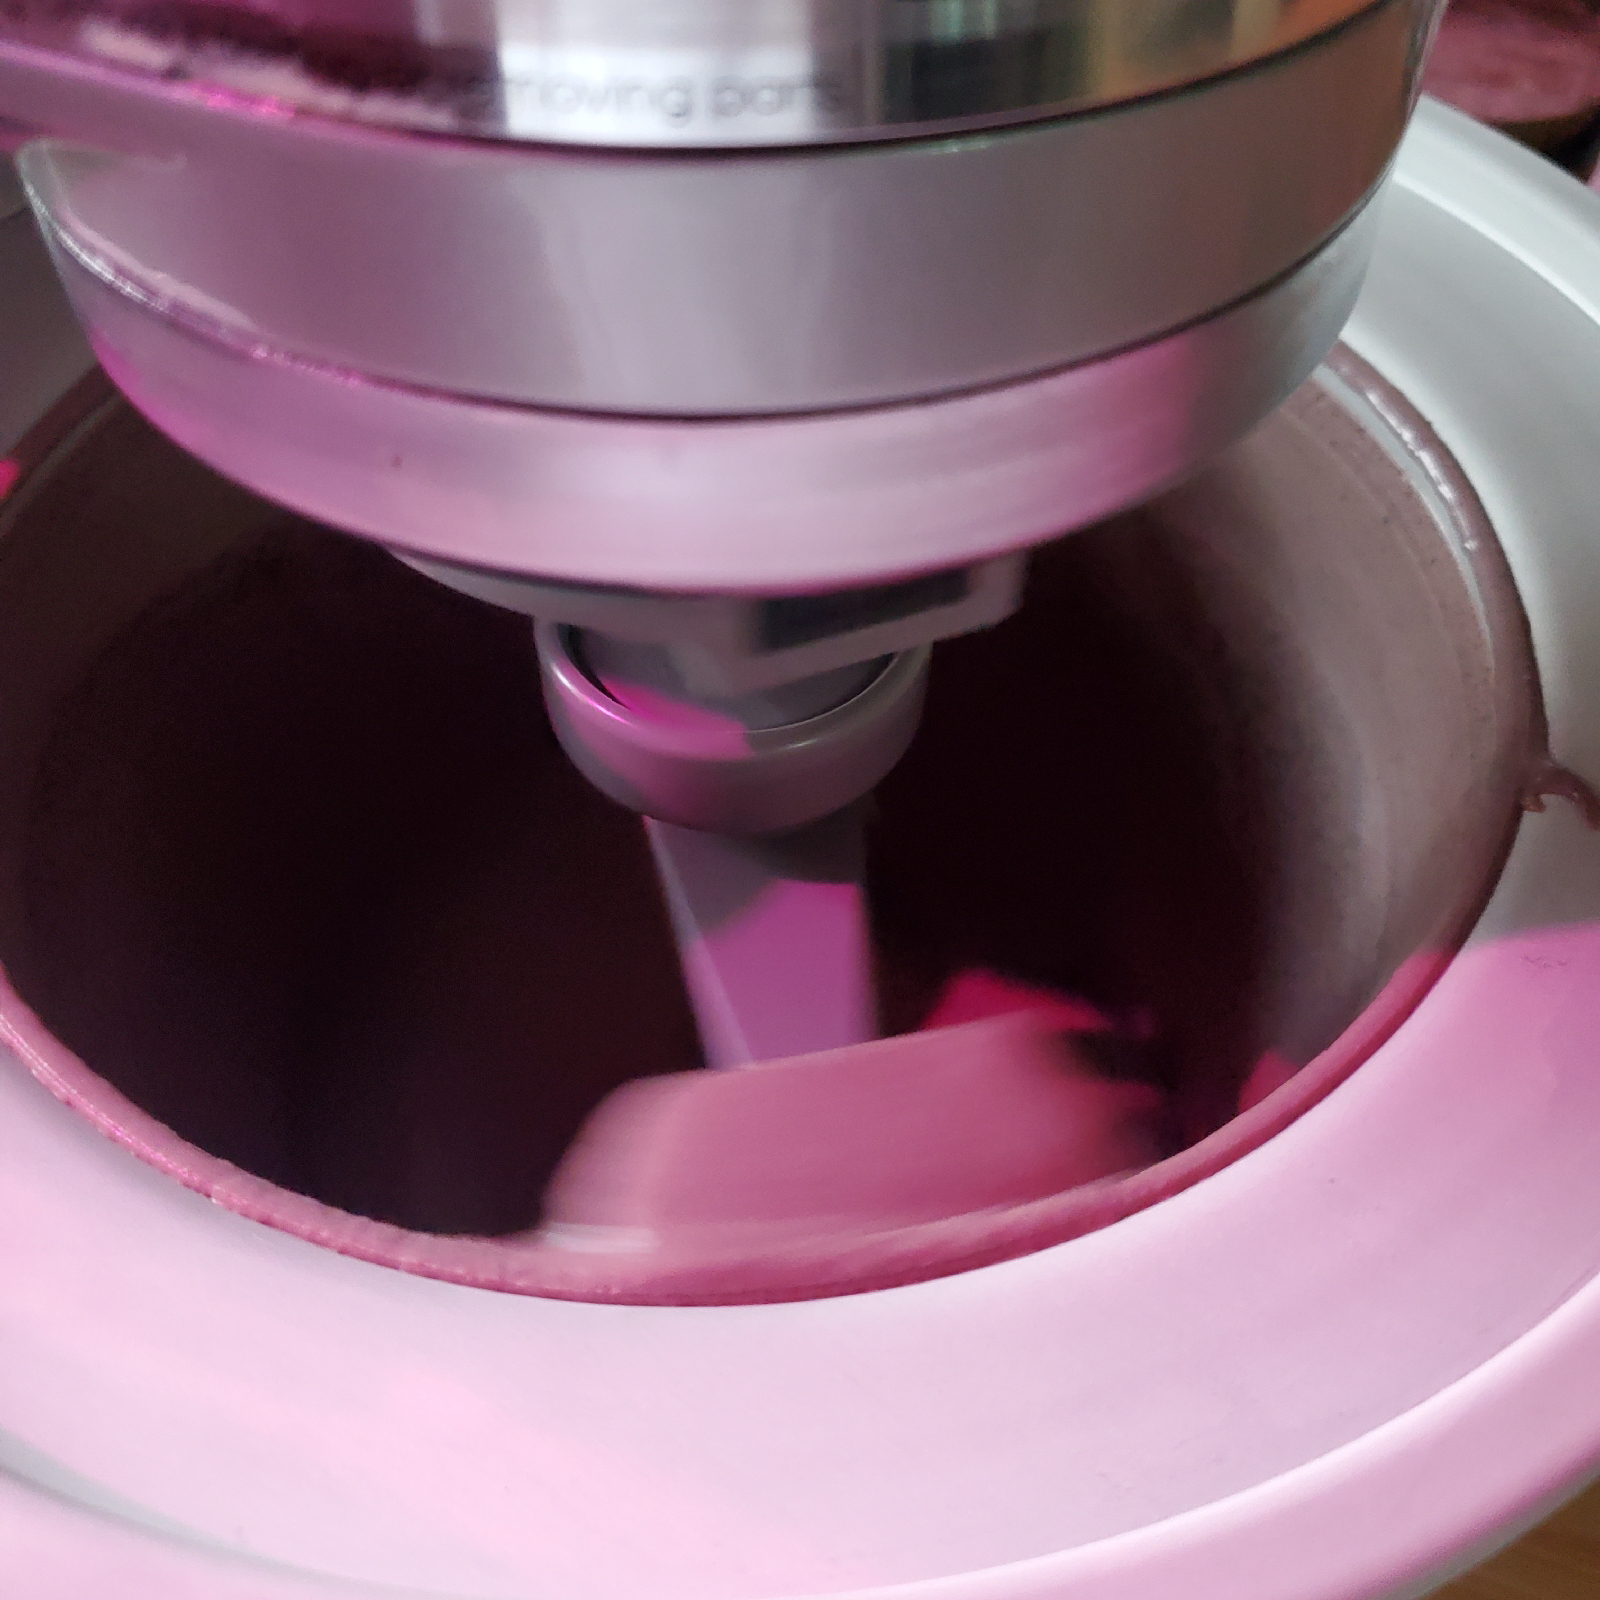
How its going
Made:
(31.1 ounces total by weight)
Here's what I have:
1 tbsp vanilla extract
2/3 cup sugar
16 oz half and half
8 oz heavy whipping cream
6 large egg yolks
1/8 tsp salt
1/8 tsp salt
1 Oz Acai powder
Preparation:
The ice cream bowl attachment I'm using was placed in the freezer 2 days prior to making this batch. The liquids for the ice cream were prepared the day before so they could cool in the refrigerator overnight.
You will need a pan big enough to hold the liquids and sugar. To churn the ice cream I will be using the KitchenAid Ice Cream bowl accessory.
In a separate heat resistant Bowl combine the egg yolks salt and acai powder. Mix until fully combined and set aside.
On the stove combine your half and half and heavy cream along with the sugar. Heat until sugar is fully dissolved and small bubbles are forming at the edge of the liquids. Be careful not to heat the dairy to boiling point. Once the sugar is fully dissolved you can begin to temper the eggs.
To temper the eggs begin stirring the eggs vigorously while slowly adding 1/4 cup increments of your Dairy to the egg mixture. Once you have added 3/4 cups of dairy to the eggs and the liquid is loose add the vanilla. Stir until combined. Slowly add two more quarter cups of the dairy to the egg mixture while stirring.
Once your eggs are tempered you can add the egg mixture to the rest of the dairy and whisk until well Incorporated.
Remove the pan from heat. To cool it down you can let it sit but continue to stir every few minutes. The mixture will look slightly like chocolate milk at first, the mix had a purple coloring after Cooling.
Once the mixture is cool enough to place in a container it should be placed in the refrigerator to complete chilling overnight.
The next day:
The next day:
Since the liquids are a higher volume than the bowl can handle at once this was churned in two parts. I have found that this also stops the Turning paddle from skipping eventually during the churning process.
The ice cream bowl was removed from the freezer and the paddle and tension spring were attached to the mixer.
The mixer was set to stirring level 1 before adding any liquids to it. Pour slowly to avoid getting any of the mixture into the paddle spring connector.
While the mixer is running half of the liquid was added and the allowed to churn for 25 minutes. The remaining liquids were returned to the fridge so they didn't reach room temperature. Once the timer was up as much of the first batch was removed from the bowl as possible and packed for freezing.
Working quickly once the first round was placed in the freezer the paddle and spring were attached to the bowl again and set to churn. The rest of the liquids were then added. An additional 25 minutes was added to the timer. Once time was up the remaining ice cream was added to the container for freezing.
Dispatch was allowed to sit in the freezer for 2 days before eating as I had prior batches of ice cream to eat.
The plate!
With this particular mix the overnight cooling process meant that the batter was a lot thicker than the first two rounds of ice cream I made.
This made pouring into the freezer bowl way easier but the consistency of soft serve at the end of mixing was about the same. After replacing the ice cream in the freezer it will continue to firm up but will still be a softer but scoopable consistency.
- Kris


Comments
Post a Comment